Understanding Your Ford 8N's Ignition System
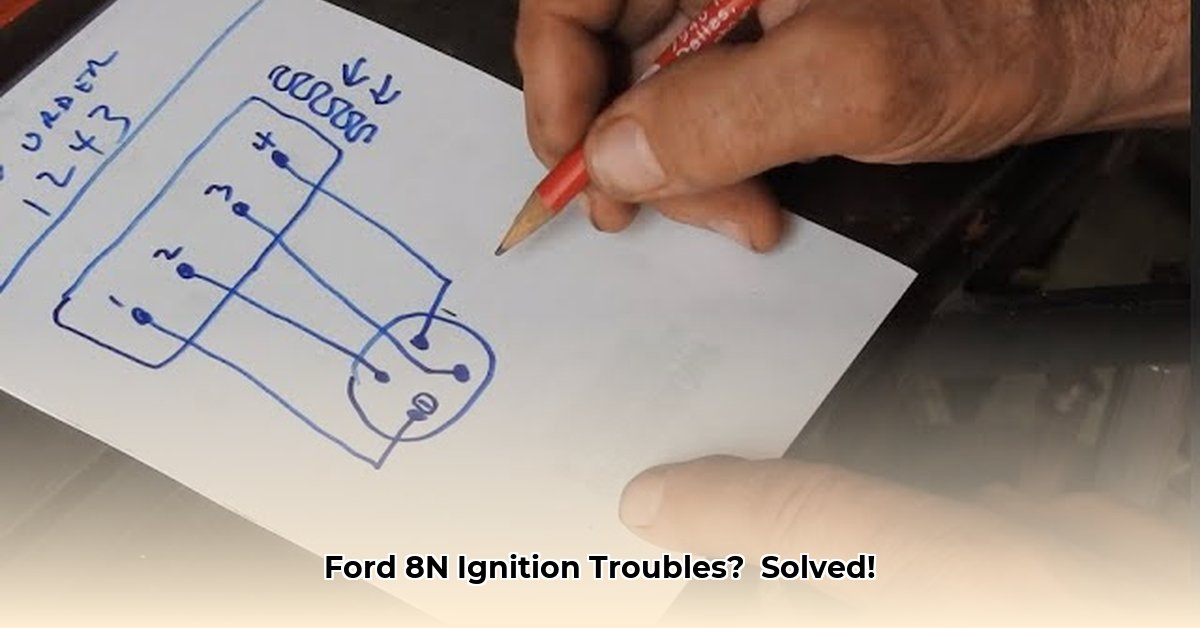
The Ford 8N's ignition system is vital for reliable operation. A proper firing order ensures each cylinder ignites its fuel-air mixture at the optimal moment. The incorrect order, however, leads to poor performance, misfires, and starting difficulties. The correct firing order for your Ford 8N is 1-2-4-3. This guide will help you understand, verify, and troubleshoot your 8N's ignition system. For a 12V conversion diagram, see this helpful resource.
Verifying the Firing Order: 1-2-4-3
Before diving into complex repairs, confirm the spark plug wires follow the correct 1-2-4-3 firing order. A simple mistake here can cause significant problems.
Identify Cylinders: Begin at the front of the engine; this is cylinder #1. Number the cylinders consecutively towards the rear (#2, #3, #4). A clear diagram helps avoid confusion. (Insert diagram here).
Trace Spark Plug Wires: Carefully trace each wire from the spark plug to the distributor cap. Note which cylinder each wire connects to.
Compare to 1-2-4-3: Check if the wire routing matches the 1-2-4-3 sequence. Any mismatch indicates a wiring error. A correctly wired system ensures each cylinder fires in the proper sequence. (Insert diagram showing correct wiring)
Troubleshooting Common Ignition Problems
If your 8N exhibits problems like misfires, hesitation, or difficulty starting, your ignition system might be the culprit. Use the following chart to guide your troubleshooting.
| Symptom | Possible Causes | Troubleshooting Steps |
|---|---|---|
| Engine Misfires | Worn spark plugs, damaged wires, faulty distributor cap/rotor | Inspect spark plugs, wires for damage, and the cap/rotor for cracks or carbon buildup. Replace as needed. |
| Engine Hesitation | Weak spark, faulty ignition coil, clogged fuel filter | Test spark strength, check coil functionality (use a multimeter if you have one), inspect fuel filter. |
| Difficulty Starting | Weak spark, low battery voltage, faulty starter motor | Test battery voltage, check spark strength, and inspect the starter motor. |
Component Replacement: A Step-by-Step Approach
Replacing worn components is often necessary. Always disconnect the negative battery terminal before working on the electrical system.
1. Spark Plugs:
a. Unscrew and remove old plugs.
b. Check the gap of new plugs against manufacturer specifications.
c. Carefully install new plugs, avoiding over-tightening.
2. Distributor Cap and Rotor:
a. Loosen and carefully remove the distributor cap.
b. Remove the rotor.
c. Install the new rotor and cap, ensuring proper alignment.
3. Spark Plug Wires: Remember the 1-2-4-3 firing order!
a. Disconnect and remove old wires.
b. Install new wires, adhering strictly to the correct sequence.
Replacing points and condenser requires further details and might be best left to experienced mechanics or a detailed service manual. (Insert relevant photos/diagrams here)
6V to 12V Conversion: An Upgrade Path
Upgrading from 6V to 12V improves performance, but requires careful planning and execution. Incorrect wiring can cause serious damage. Consult a qualified mechanic or a detailed conversion guide specific to the Ford 8N. (Insert relevant wiring diagram for 6V to 12V conversion if applicable). Don't attempt this modification without proper knowledge and resources.
Preventative Maintenance: Keeping Your 8N Running Smoothly
Regular maintenance prevents major issues. A yearly inspection of the ignition system, including checking wire connections, spark plug condition, and the distributor cap and rotor, will significantly increase the lifespan and reliability of your tractor. Refer to your owner's manual for specific maintenance schedules.
Conclusion: Back on Track
Understanding the Ford 8N's 1-2-4-3 firing order is key to diagnosing and resolving ignition problems. By carefully following the steps outlined in this guide, you can get your tractor running smoothly again. Remember, safety first, and always consult your owner's manual and other reliable resources when needed.